Understanding Tile Grout Types for Durability
Choosing the right grout is essential to ensure tile installations withstand the test of time. In this section, I'll delve into the specifics of cement-based and resin-based grouts to help you make informed decisions for your projects.
Cement-Based Grouts: Traditional Strength
Many contractors still prefer cement based grout for tile work because it's stood the test of time both in terms of strength and accessibility at hardware stores everywhere. The mix typically contains cement, water, sometimes sand too, creating that strong hold needed to keep tiles firmly attached. Most folks know that these grouts need sealing once applied if they want them to last longer without getting stained or letting water seep through. Studies have shown something interesting though – around 70 percent of tiles set with this type of grout stay looking pretty good even after ten years or so, provided regular maintenance happens. That kind of durability plus decades worth of experience using cement based products makes it an excellent go to option for all sorts of tiling jobs, delivering that classic grout performance homeowners expect from their floors and walls.
Resin-Based Grouts: Advanced Performance
Resin based grouts like epoxy and acrylic types have become really popular in modern tile work because they just perform better overall. Their flexibility plus good water resistance makes these products great choices for places where there's going to be stress or changing moisture levels. Think about big tiles or those fancy heated floor systems. These resin mixes don't crack as easily either and handle temperature changes much better compared to regular cement grouts. Another major plus is how quickly they set. Some can cure within hours rather than days, which saves a lot of time during installations. While certain applications might still need professionals to apply them properly, most contractors find that the improved durability and adaptability of resin grouts justify the extra cost for jobs requiring tougher materials.
Key Factors Influencing Tile Grout Selection
Moisture Exposure & Location-Specific Needs
Knowing how much moisture exists in a space matters a lot when picking out tile grout. Bathrooms and kitchens are prime examples of areas with high humidity, so they really need either waterproof or at least moisture resistant grout to avoid all sorts of damage down the road. Experts in the field often point out that getting this wrong can cost homeowners big time later on. We've seen cases where people spent over two grand just fixing mold problems caused by poor grout selection. When deciding what kind of grout to use, take a good look at the local climate conditions too. A simple assessment of where the tiles will go makes all the difference in finding something that works well for that particular spot.
Grout Joint Width & Tile Material Compatibility
How wide those grout lines are makes all the difference when picking out the right kind of grout. Wider gaps typically call for special mixes that hold up better over time. Tiles and grout need to get along too. Glass tiles come to mind here since they work best with certain types of grout formulas if we want them sticking properly without cracking later on. When things don't match up, what happens? Well, bonds tend to break down faster which means our whole tiled surface might start coming apart at the seams. Also worth considering is how thick those lines look against different tile styles. A narrow line works great with small ceramic pieces while bigger stone tiles often look better with wider spacing between them for visual balance across walls or floors.

Application Techniques for Long-Lasting Results
Proper Mixing & Tool Preparation
Getting that flawless tile grout finish really comes down to getting the mix right and having the correct tools handy. The grout should have just the right texture—not too runny, not too thick—so it sticks properly and won't crack later on. Companies usually list their recommended water to powder ratios somewhere on the packaging, so following those instructions matters if we want our work to last through multiple seasons. A good quality float and some plastic spacers make all the difference when spreading out the grout between tiles. Without them, things tend to look uneven after drying. We've seen plenty of DIY jobs go wrong simply because someone skipped reading the mixing instructions or grabbed whatever tool was lying around instead of investing in proper equipment for the job.
Step-by-Step Grouting Process
Getting good results when grouting tiles really depends on taking things step by step. First things first, the tiles need proper prep work. Clean them thoroughly so there's no dust or debris left behind. When applying the actual grout, grab a rubber float and work it into those gaps between tiles. This helps get rid of those pesky air bubbles that might weaken how everything sticks together later. After spreading, take a damp sponge and gently smooth out those grout lines while they're still wet. Be careful not to leave too much residue sitting on top of the tiles themselves. Don't rush into using whatever space has been tiled until the manufacturer says it's safe to do so. Rushing this part means weaker grout and possible cracks down the road. Follow all these tips carefully, and most folks end up with something that looks great and lasts for years without needing major repairs.
Maintaining Tile Grout for Extended Durability
Sealing Strategies for Maximum Protection
The importance of sealing tile grout surfaces cannot be overstated when aiming for prolonged durability. By preventing moisture penetration and stains, sealing plays a pivotal role in maintaining the integrity of grout lines. Consumer studies indicate that using a high-quality grout sealer can potentially double the lifespan of grout.
Here are some effective sealing strategies:
Select a High-Quality Sealer: Ensure that the sealer chosen is compatible with the type of grout used.
Periodic Resealing: Follow product-specific recommendations for resealing to maintain grout protection over time.
Understanding Sealer Types: Familiarize yourself with different sealers (penetrating vs. surface sealers) to choose the one that offers the best protection for your grout.
Routine Cleaning & Stain Prevention
Keeping your tile grout clean is essential for maintaining its appearance and structural integrity. Routine cleaning with non-abrasive cleaners helps preserve grout's aesthetic and functional qualities.
Here are effective cleaning and stain prevention strategies:
Regular Cleaning Routine: Establish a routine using appropriate cleaners that safeguard grout against erosion and discoloration.
Immediate Spill Attention: Act promptly to wipe spills, minimizing stains and maintaining grout's integrity.
Avoid Harsh Chemicals: Harsh chemicals can erode grout and lead to premature wear. Opt for gentler cleaning agents.
Expert Recommendations: Home improvement experts suggest that consistent maintenance can keep grout looking new for years, saving on intensive cleaning efforts.
These strategies and practices should significantly enhance the durability of tile grout, ensuring it remains a robust element of your tiled surfaces for years.
Addressing Common Tile Grout Challenges
Preventing & Repairing Cracks
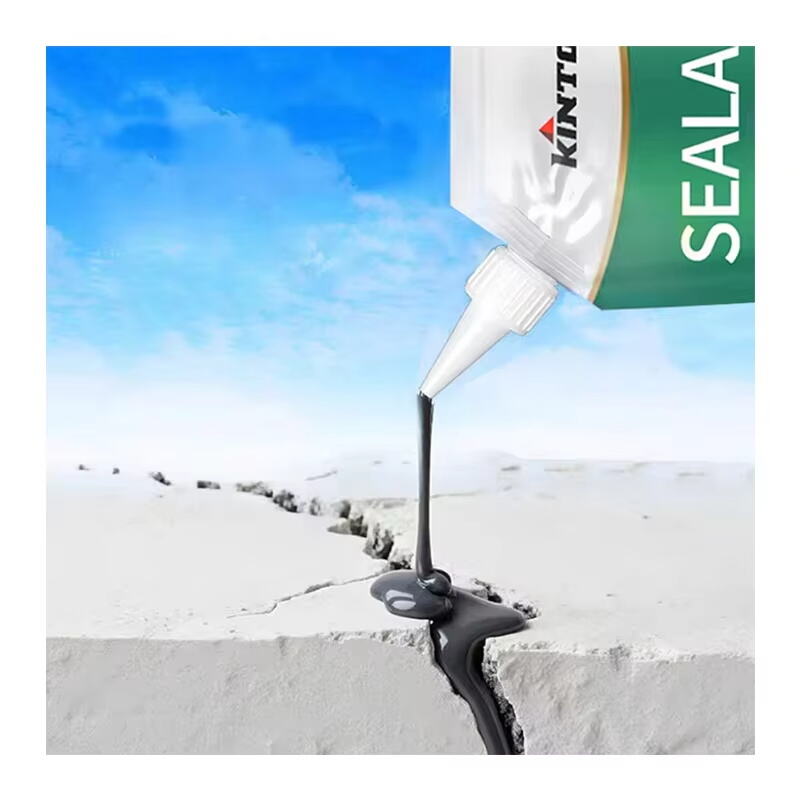
Tile grout cracks usually start because of poor installation practices, especially when expansion joints are ignored. These little gaps let the tiles move just enough without breaking apart when temperature changes happen or things settle over time. Most people don't realize how important they are until cracks appear. If cracks form anyway, many pros suggest using an epoxy filler that matches the existing color since it lasts longer and blends better than regular grout patches. Studies show around 60 percent of all grout issues come down to movement beneath the tiles themselves. That means paying close attention during installation matters a lot, plus keeping an eye on the whole tiled area after completion helps catch problems early before they get worse. Getting familiar with what causes these issues makes it easier to fix them before they become major headaches, preserving both the look and structural strength of any tiled space.
Combating Discoloration & Mildew Growth
Keeping up with regular maintenance and cleaning really helps fight against those ugly grout stains and that nasty mildew stuff. Going for bleach free cleaners makes sense because they work on mildew but won't mess up the color of the grout, so it stays looking good for longer. Most pros will tell anyone who asks that sealing grout is super important. The sealant creates a barrier that stops water from getting in deep, which means less chance of mildew growing there. And don't forget about controlling humidity levels too! Bathrooms especially need good airflow since damp air just invites mold problems. Open windows or install exhaust fans where possible. These simple steps go a long way toward maintaining clean grout that looks fresh instead of gross and discolored after years of use.
FAQ Section
What types of grout are suitable for high moisture areas?
Resin-based grouts, such as epoxy and acrylic variations, are ideal for high moisture areas due to their waterproofing capabilities.
How do you avoid grout cracking?
Preventing cracks involves proper installation techniques, including the use of expansion joints, which accommodate movements and expansions within the tiled surface.
What is the importance of sealing grout?
Sealing is crucial as it prevents moisture penetration and staining, thereby extending the lifespan of grout and maintaining its integrity.

